I haven't been making soap really at all for months. On our forum, we are doing casual challenges and my turn had come so I decided to post about a technique I started years ago to make a more natural looking marble in soap. It's not got the sexy curves and rhythm of swirled soap but nature doesn't always work in curls. It sometimes gives us cracks and jagged lines, like lightning or a vein of gold within rock or tree branches. I like that look but trying to make fluid soap look like that is an uphill battle. Thankfully, soap develops a more crystalline structure as it sets and as it cures so it can be taken advantage of to give very natural fissures.
I have been thwarted by my camera in making a video so pictures will have to do. I made this soap in a slab mold but the first time I used it was in a loaf mold. At that time, I used a flatter spoon to dig into the soap and lever up a chunk so it would break along the natural lines of the firm soap while allowing the contrasting soap to fill in the crack and did this in a number of places in the loaf, trying to be certain to sometimes crack all the way to the bottom of the mold. If you dig around too much or do it when the soap is too soft, all you get is a bunch of small pieces swimming in contrast, which has its merits but won't look anything like a fissure/crack/lightning.

To get fissures, you have to create them which means a different manipulation than usual. A silicone mold is perfect, but you could also line a hard mold with a plastic bag, just like you did back when you were starting and didn't have 400 pieces of equipment like you do now. Harken back to your roots, pull out the grocery store plastic bag and a box and you are good to go.
I use a slow tracing recipe, an accelerating FO, and a colorant in water (TD in water gives excellent results.)
Decide on your colors. I use a color in water to get into the fine lines and if you are using TD or AC, I put those to soak in water well ahead of time so they can absorb whatever water they want. I can add more water as needed to get a nice fluidity.
Get your recipe to emulsion and pour off a small amount BEFORE YOU ADD ANY FO. This will be used as the filler for the cracks, so you can color it after pouring off to get whatever contrast you would like. Stir it occasionally.
The rest of your batter will then be the base. Color as desired and then add the accelerating FO and stir it up well. You don't want a seize though. Get it into your mold before it's lumpy and mashed potatoes because you want it to firm up in the mold, not in the bowl. Of course in this run, I added Plumeria and Ahoy Matey which both move like gangbusters but they decided to play against me and remain soft for a long time.

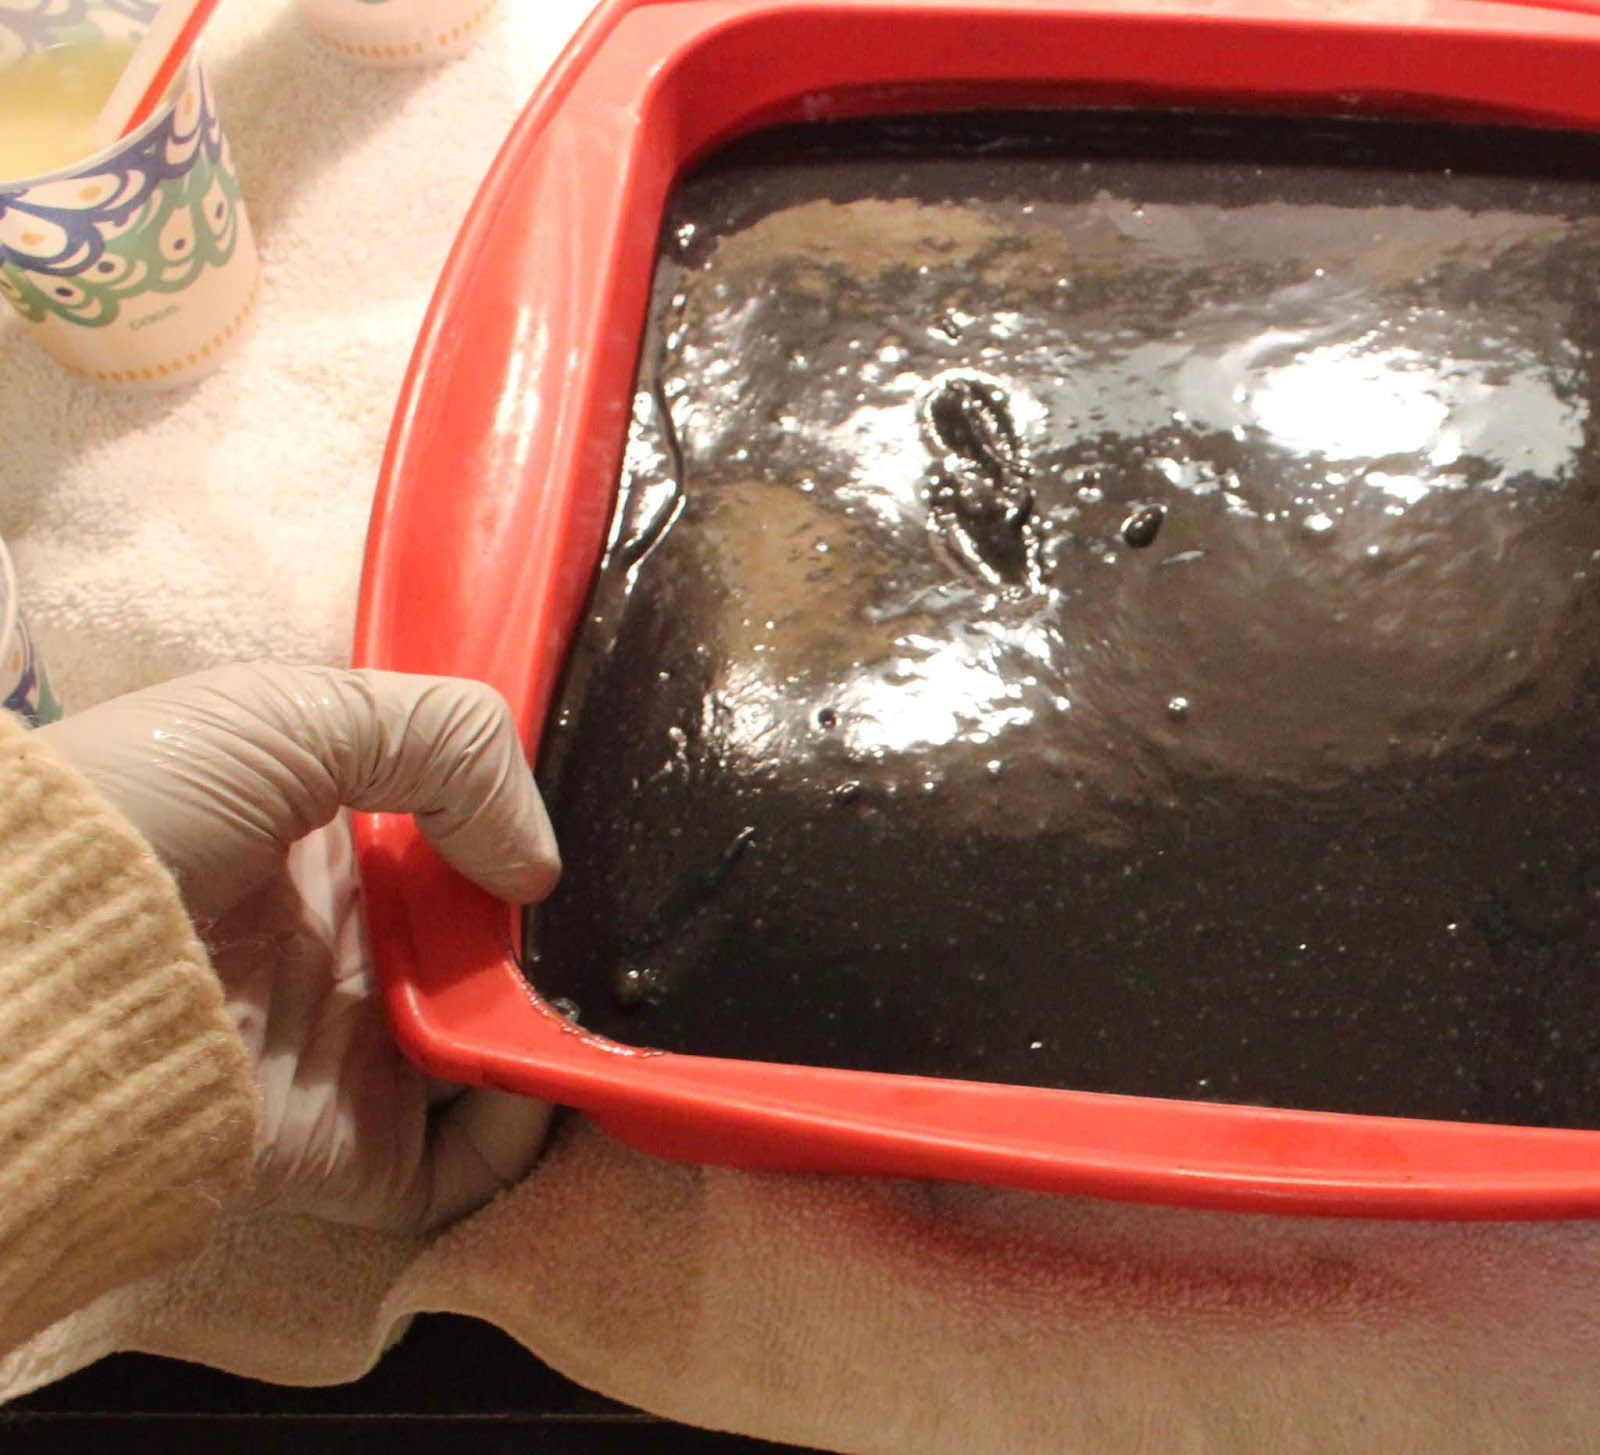
Slide your fingers under the mold and flex it to break the surface of the soap. Because the batter was moving so slowly, I have plenty of pictures of how it looks as it SLOWLY firms up.


Oh for god's sake, will you set, damned base!?!?
You can see some of the fissures staying in the surface, but I want a break all the way to the bottom along the lines that the firm soap gives me. If you lose patience, as I did, you can take a spoon or other implement to try to jimmy up a section but this is still too soft. Ahoy Matey, you failed me.


It's getting there, after 20 minutes of frustration. I poured on the contrasting thin batter and worked to get it all the way into the crack. The I added the TD in water to get into the finest lines and into the larger cracks as well, for interest. Pour on more as you go.


Finally getting to how it's supposed to go!


Once it starts to break better, I make sure I am cracking it all the way down to the bottom of the mold. I added more thin batter and more TD in water to make certain it gets into every nook and cranny. You can make tons of fissures or just a few of course. This soap stayed too soft for what I wanted but it works in the end. It looks a mess when I'm satisfied with the fissuring but that is how you get it into all the spaces. Don't worry!


After gelling, if you prefer, or when it's unmolded, either rinse off or cut off the very top layer to reveal.....Fissured Soap.

I cut mine into bars and then turned a few bars into soap stones.


