Oh my my my. I have been negligent in posting. It is not for lack of soaping but more for lack of pictures. I got a new camera and have been having a great deal of difficulty in getting the pictures to download to my computer, although it's supposed to be a great deal easier. Ha! Not for the tech un-savvy, like myself.
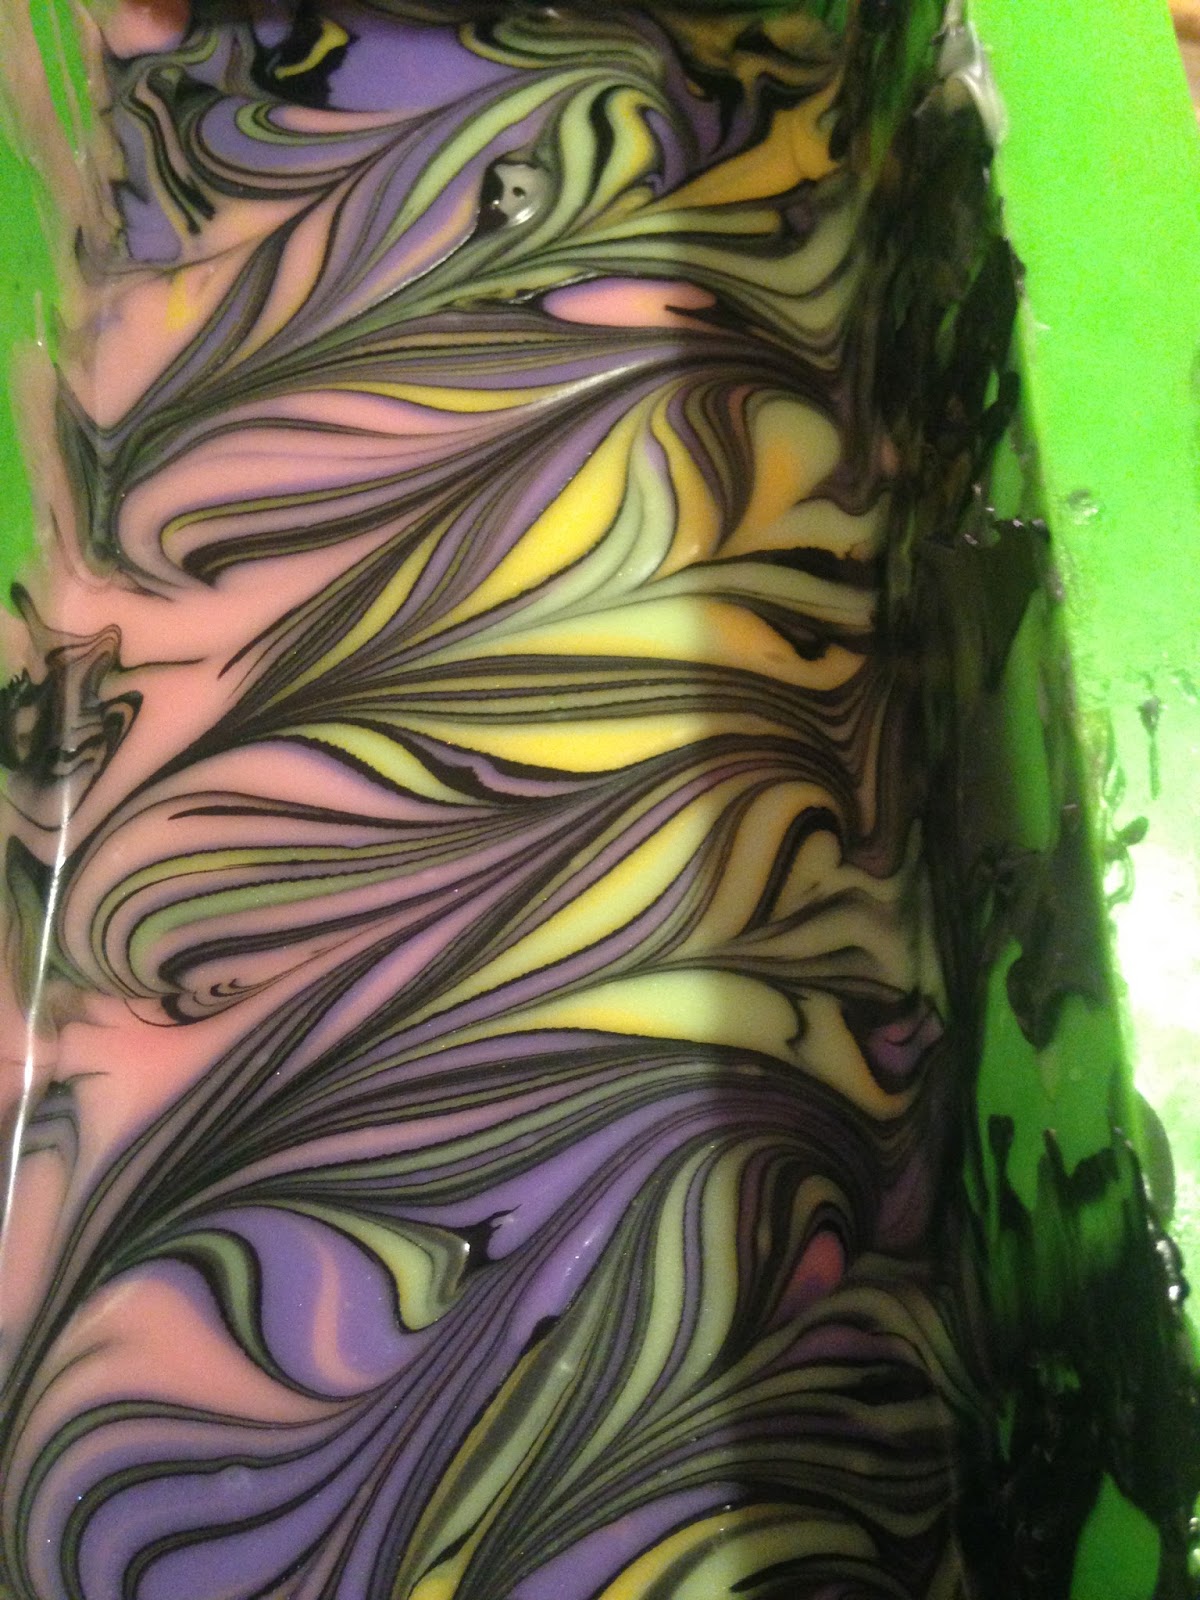
We are having an ebru challenge this month, so I thought I would post some of my pattern attempts. Paper marbling is a truly fascinating medium with some glorious patterns that are very difficult to dissect. Some are more straightforward, thankfully for someone trying to translate them to soap, but some are on a scale that makes trying them in a small slab impossible, and some I just cannot figure out.
Anyhow, here are some of my tries for this month.
Last month was a gradient challenge. I used yellow with increasing amounts of black for my colors but I didn't find this to be as colorful as I would have liked. I got the mix from Will Kempart but his yellow was Chromium Yellow, if I recall correctly, and adding black gave some very bright lime greens, which I did not get. I got olive but I'm sure that's due to the yellow I had at hand.
Then I tried to make some finer gradients that would look more like a blush from one color to the next. I am not that great at hanger swirls. The picture insists on being sideways.
Currently setting up for another patterns so we shall see what comes of it.